By joining you will help ensure that we can continue to provide this service
JOIN HERE!
R26 gearbox removal.
- San Arthur
- Posts: 577
- Joined: Sun Apr 22, 2007 2:08 pm
- Location: San Antonio, TX.
- Has thanked: 1 time
- Contact:
R26 gearbox removal.
A few miles into my ride I got into a right hander and before the turn Zenaida died on me.
I those split seconds I thought: maybe an electrical issue with switch plate or key, a clogged fuel filter?
I remember seeing the generator light on, and after the turn I started pulling to the side of the road.
I don’t remember if I had the clutch engaged or tried to change gear but suddenly the rear tire skid and Zenaida stopped.
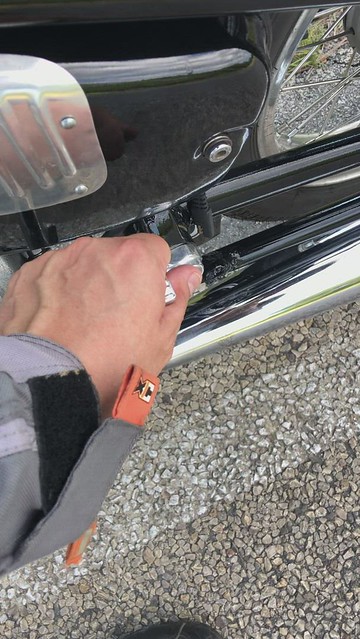
I tried engaging the clutch to push Zenaida, and nothing. I had to move the shifter hard, up and down, to find neutral and finally push it out of the very narrow road, I was too close to the curve.
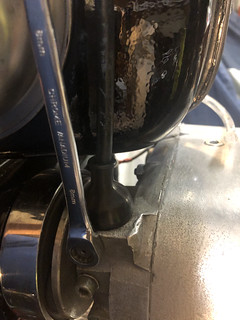
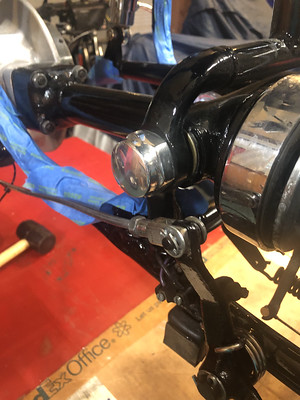
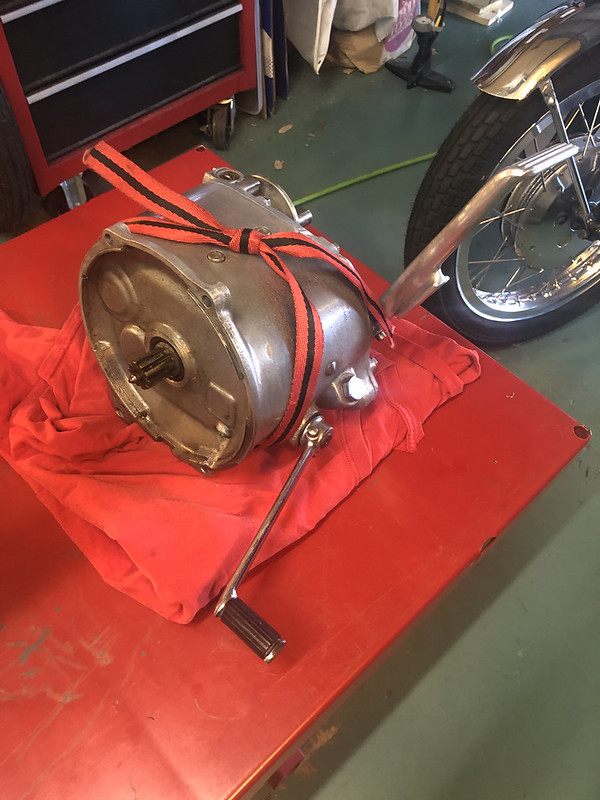
The shifter will return to the center, this spring is ok.
I checked the clutch cable thinking maybe the lever was not moving the pushrod? but it looks ok.
I try to start Zenaida, but the kickstarter lever is froze in place.
Click_for_Video
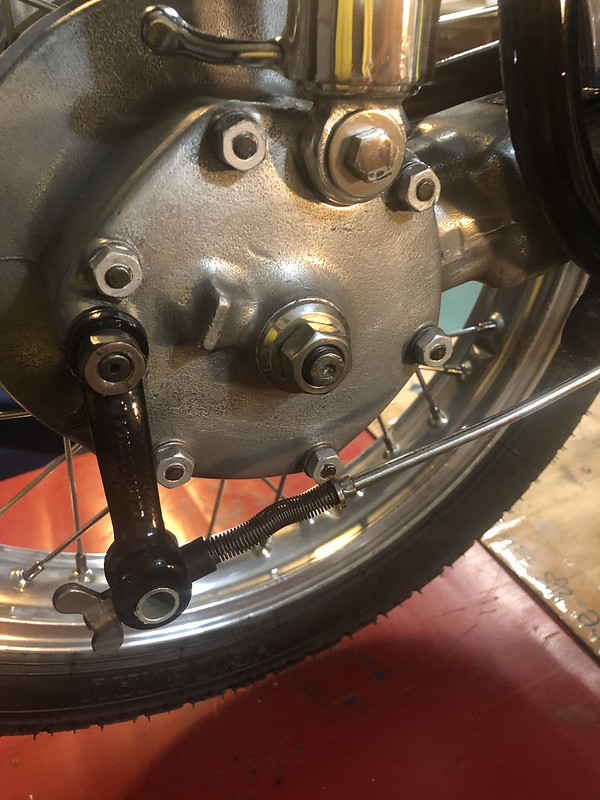
If I push Zenaida I can see the cardan shaft turning, but bike wont move if in gear even with the clutch engaged.
Back home. Mea culpa...
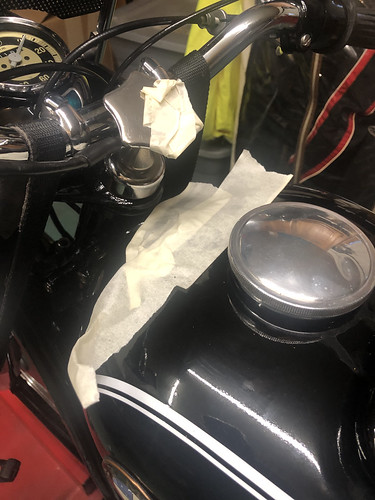
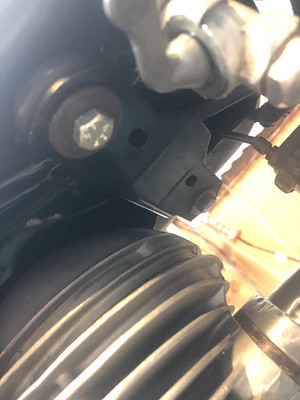
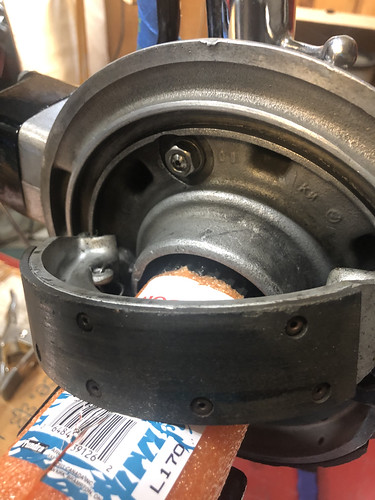
With Zenaida is on the bench, I check thru the filling hole with my endoscope and the gearbox is dry.
Yes, I forgot to check the oil.
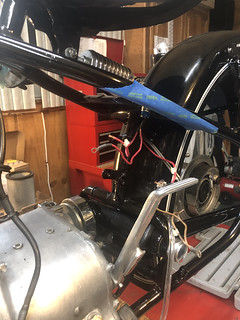
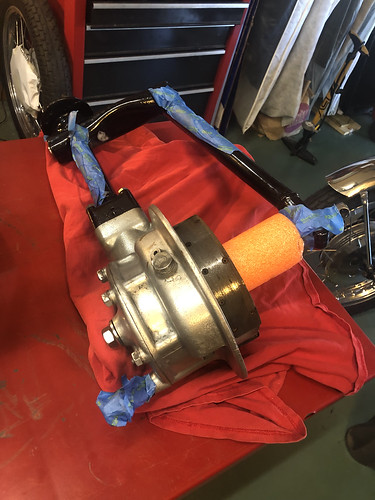
I will take this sad opportunity to document the removal of a R26 gear box, following the Barrington.
'58 R26 '76 R90S '88 R100RS '94 R100GS/PD
- jwonder
- Posts: 784
- Joined: Wed Nov 23, 2016 7:50 pm
- Location: Long Island, New York
- Has thanked: 3 times
- Been thanked: 8 times
- Contact:
Re: R26 gearbox removal.
Vice President, Vintage BMW Motorcycle Owners
2022 BMW Friend Of the Marque
Long Island, New York
- San Arthur
- Posts: 577
- Joined: Sun Apr 22, 2007 2:08 pm
- Location: San Antonio, TX.
- Has thanked: 1 time
- Contact:
Re: R26 gearbox removal.
I open the Barrington and realized I have a lot of work to do to catch up with the chapter, basically removing all the rear of Zenaida.
Removed the battery and drained the gasoline from the tank.
Is a gyn and tonic type of job. Make sure I have enough tonic for the Tanqueray.
I removed the tank. I tape every surface I can, to protect the paint from scratches.
You may not need to remove the tank, but is easier than working around it. I store the hardware separately by component.
I removed the carburetor. I placed the throttle cable and the speedometer cable in bags to protect the parts and prevent them from scratching the paint.
[
Put the carb and flange in a box.
Remove the exhaust system and tape the intake and exhaust orifices.
I love my Barrington.
Remove the rear wheel next.
Remove the air filter and battery box and disconnect the electric cables. Take lots of pictures from the cables position.
Next I removed the rear fender. Next time I think I will remove the rear fender first and then the box, I had a difficult time getting to all the bolts.
More taped on every surface to prevent scratches. I used clamps to compress the edge of the fender for easy removal and to prevent scratches.
Did I mentioned I taped more surfaces to prevent scratches.
Next I remove the rear brake rod.
Remove the aluminum swing arm cap nut.
Loosen the hex nut. I didn’t remove the bearing pivot just yet.
I measure the gap both sides of the swing arm for reference.
I used a stand to release the pressure on the shocks and remove the screws.
You need to move the brake shoe to have access to the right shock bolt.
I used clamps to hold the drive shaft and swing arm in place to relieve pressure and make easier removing both bearing pivots.
The pin tool is necessary.
Next I remove the clamps and separate with a plastic pray bar, the hardy disc and then remove the swing arm.
Remove the safety and the pivot pins to remove the clutch lever.
I may not need to, but I remove the kickstart lever stop too.
Don’t forget the neutral switch wire and the clutch cable sleeve!
Remove the 4 gear box nuts and the exhaust pipe retaining bracket.
Lower the left front foot peg, do not remove the bolt.
Place a plastic folder under the gear box to protect the frame paint.
Remove the gear box following the Barrington indications.
I tie a robe to help me lift the gear box.
Voilà!
'58 R26 '76 R90S '88 R100RS '94 R100GS/PD
- San Arthur
- Posts: 577
- Joined: Sun Apr 22, 2007 2:08 pm
- Location: San Antonio, TX.
- Has thanked: 1 time
- Contact:
Re: R26 gearbox removal.
Thanks jwonder, my nephew helped me with heavy lifting.
Saludos
'58 R26 '76 R90S '88 R100RS '94 R100GS/PD