
I finished a rebuild of this bike on July 21, 2017. I wrote-up a description of how I assembled the bike starting with the frame and ending with the gas cap. There are pictures and a short video of the completed project a the end of this write-up.
00 BMW 1977 R100RS Assembling The Bike From the Frame Up
I documented the complete project here:
1977 BMW R100RS Rebuild: Project Index
I plan to ride it from Denver,CO to the 40th anniversary rally hosted by Todd Trumbore in Harleysville, PA, September 14-16, 2017.
Here are some pictures of the finished build.
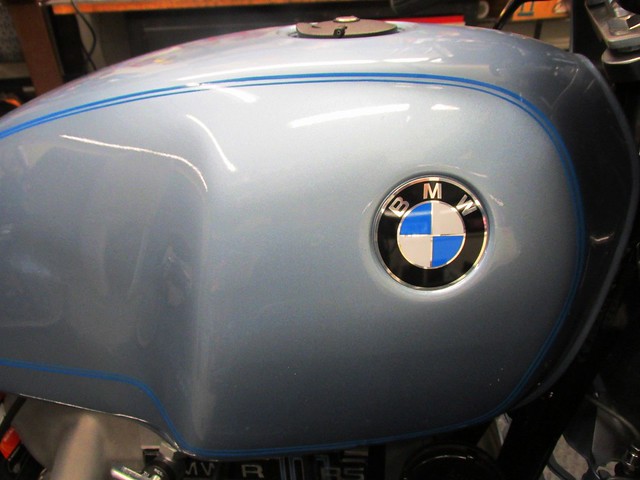 BMW Roundel Installed by Brook Reams, on Flickr
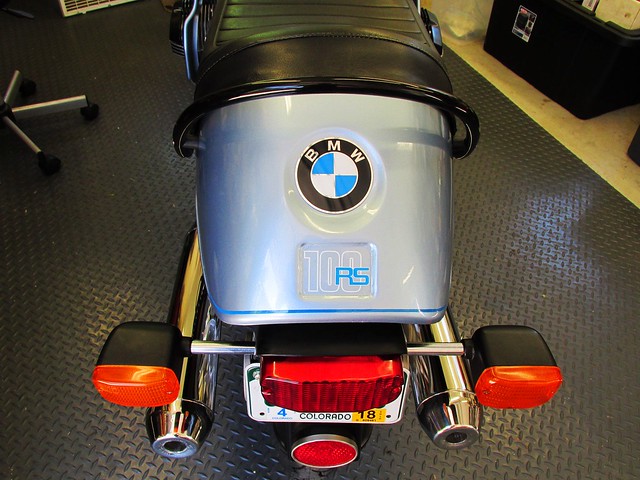 Rear Cowl Decal and Rondel Installed by Brook Reams, on Flickr
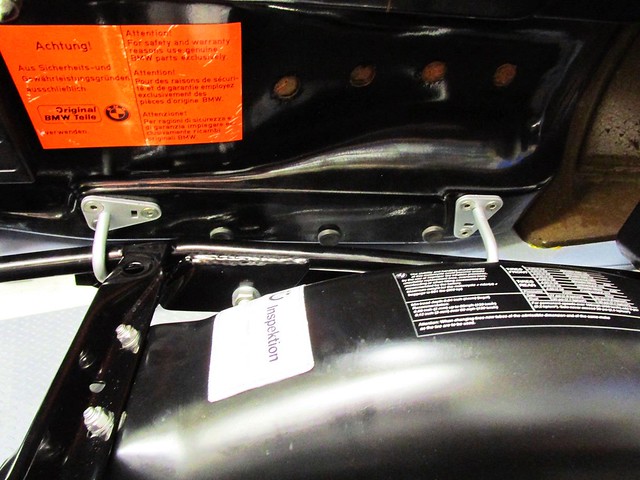 Inspection Sticker and Tire Information Stickers by Brook Reams, on Flickr
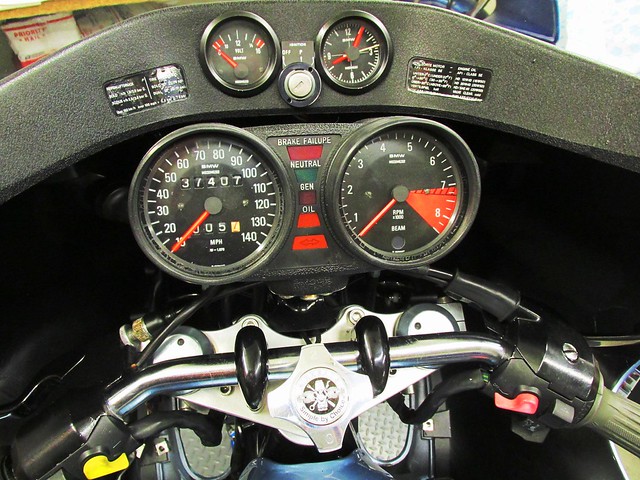 Dash and Instruments Installed by Brook Reams, on Flickr
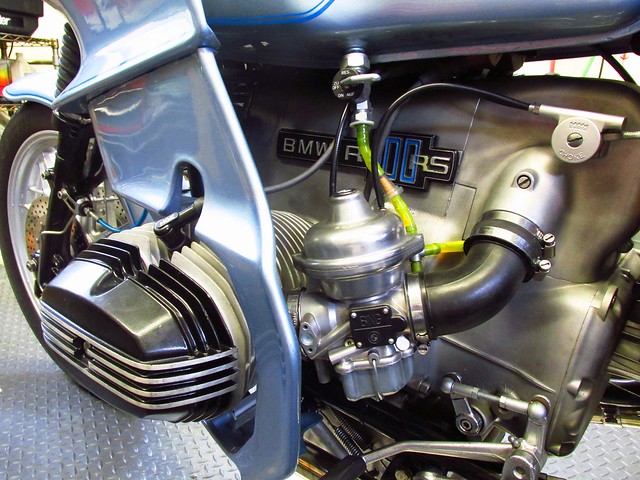 Finished Bike-Carburetor by Brook Reams, on Flickr
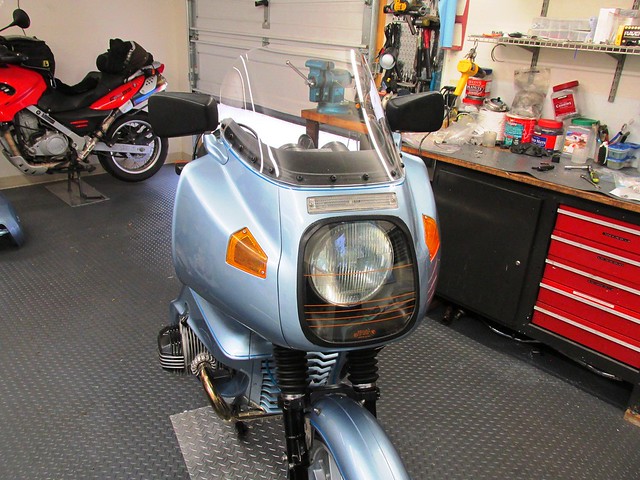 Clear View Wind Screen Installed by Brook Reams, on Flickr
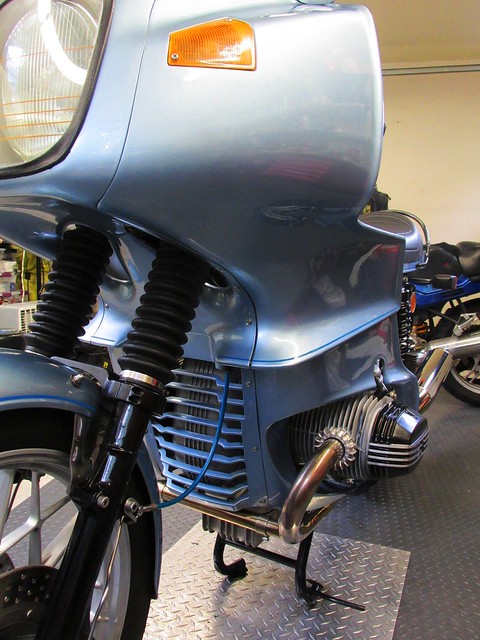 Finished Bike-Right Front by Brook Reams, on Flickr
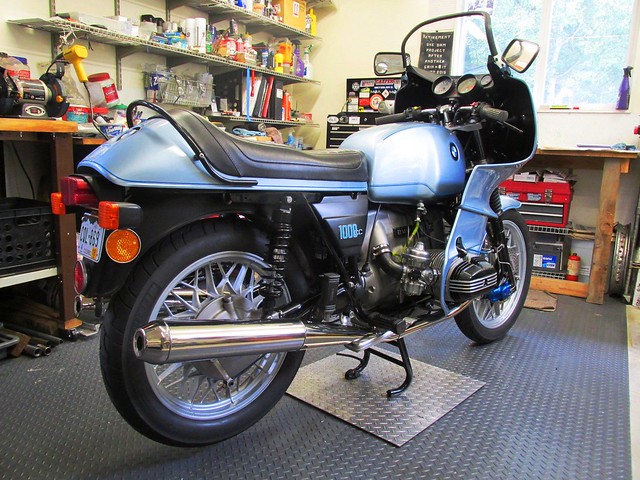 Finished Bike-Right Rear by Brook Reams, on Flickr
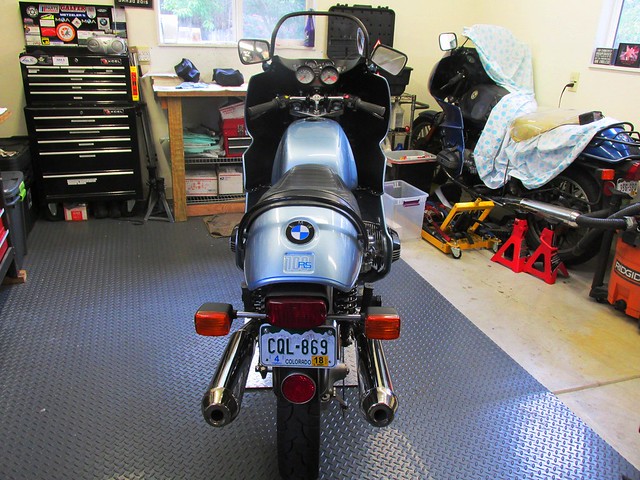 Finished Bike-Rear by Brook Reams, on Flickr
 Fairing and Body Work Installed by Brook Reams, on Flickr
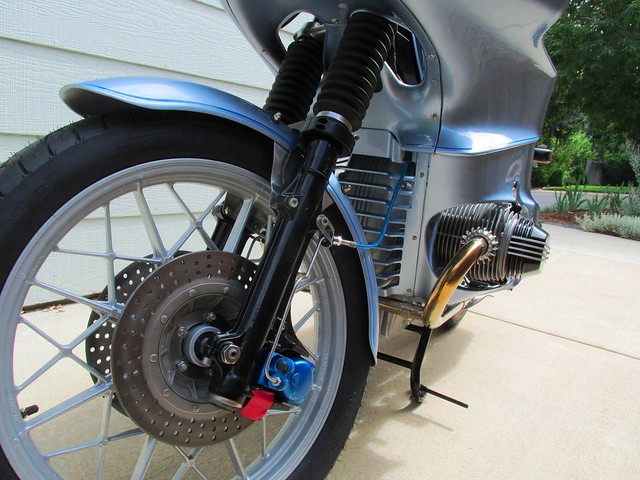 Finished Bike-Right Front by Brook Reams, on Flickr
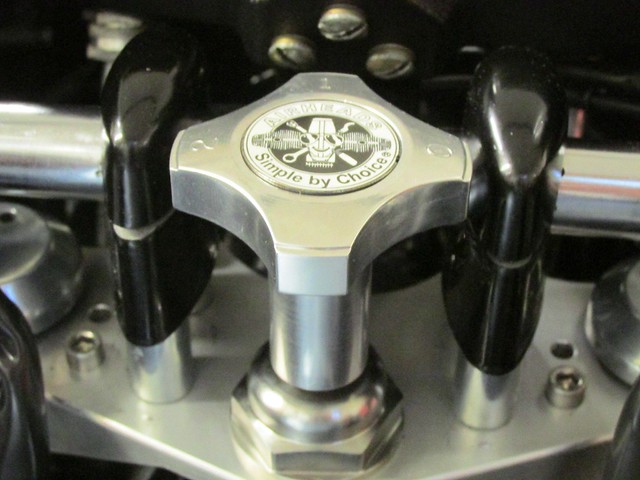 Custom Steering Damper Courtesy of Bill Lambert by Brook Reams, on Flickr
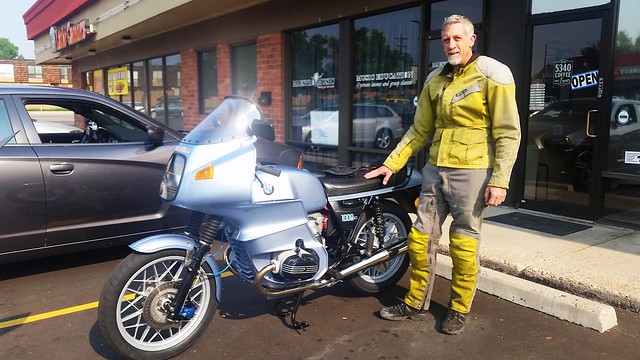 At the Coffee Shop For a Test Ride by Brook Reams, on Flickr
Best.
Brook Reams.
