If you like our site, please consider joining our club!
By joining you will help ensure that we can continue to provide this service
JOIN HERE!

R69S restoration

808Airhead
Posts: 1294
Joined: Wed Aug 05, 2009 9:06 pm
Has thanked: 20 times
Been thanked: 18 times

Sonofrust,I want to say thank

Post by 808Airhead »

Sonofrust,I want to say thank you for writing such a well worded,insightful post and I too,can understand the originality/provenance/patina collector worlds. It seems I am in the middle of the road,where I do appreciate machines "restored as they were meant to be from the factory",yet also can appreciate the slightly modified bikes as well,such as bags/fairings/bars,etc...
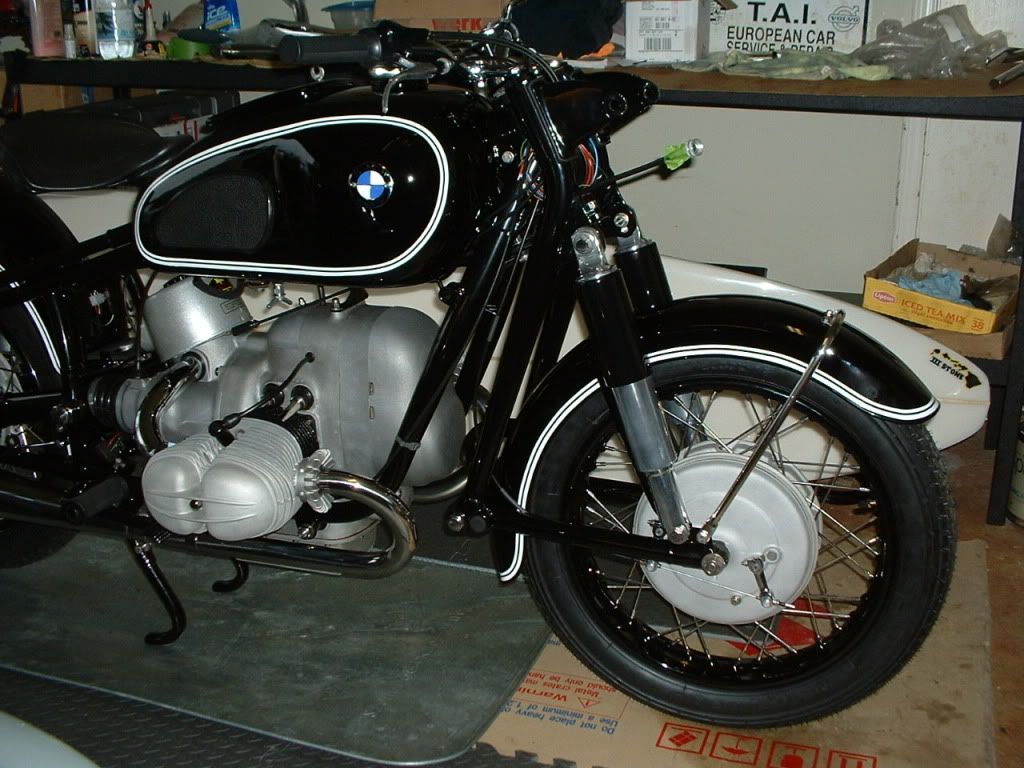
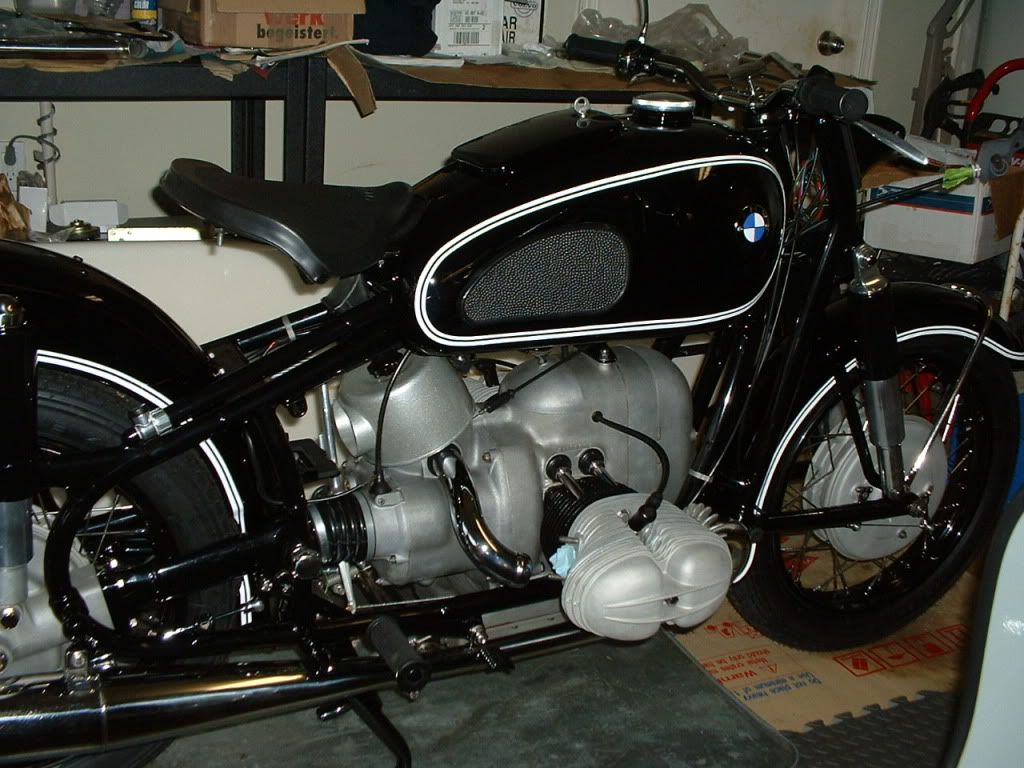
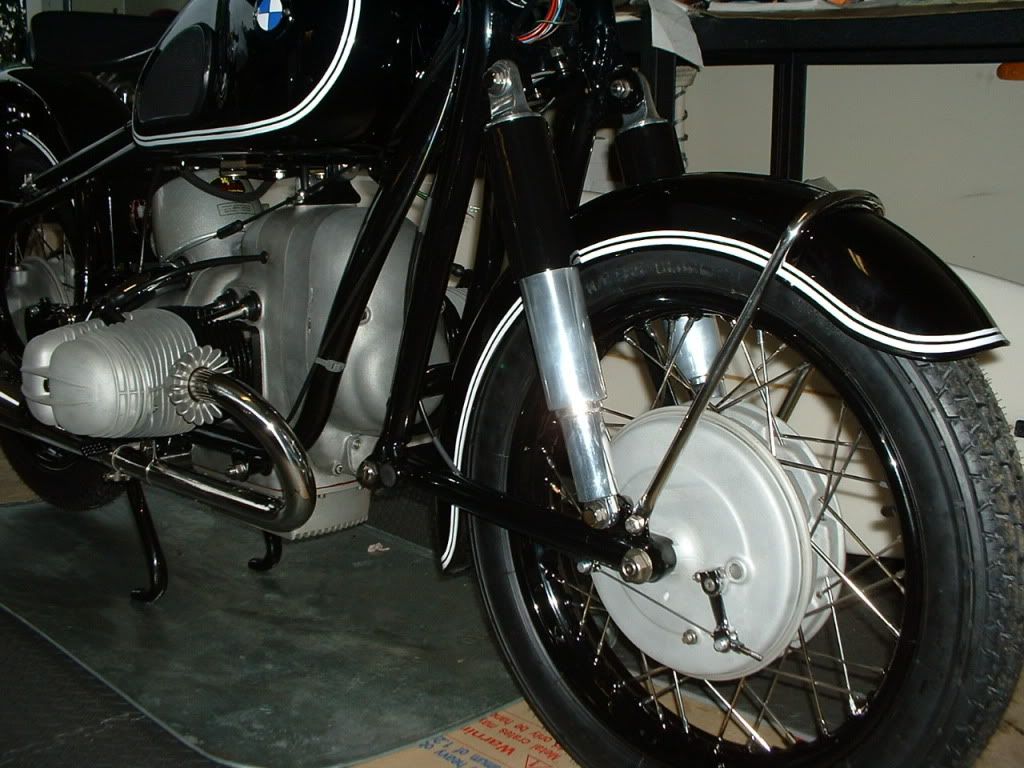
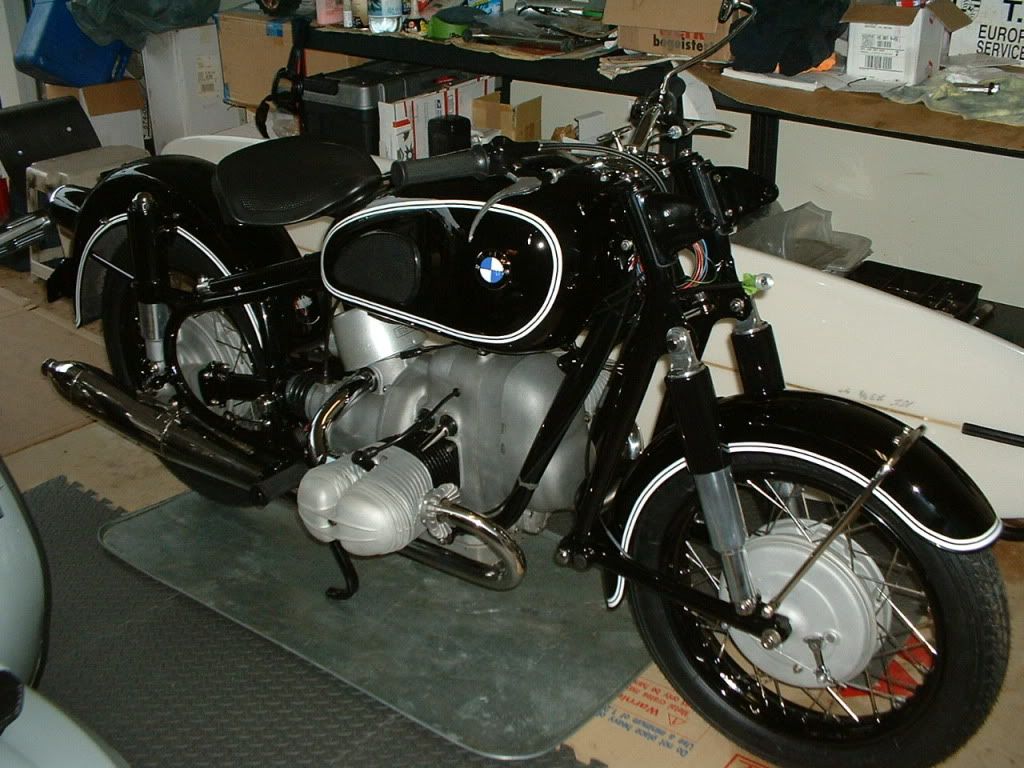
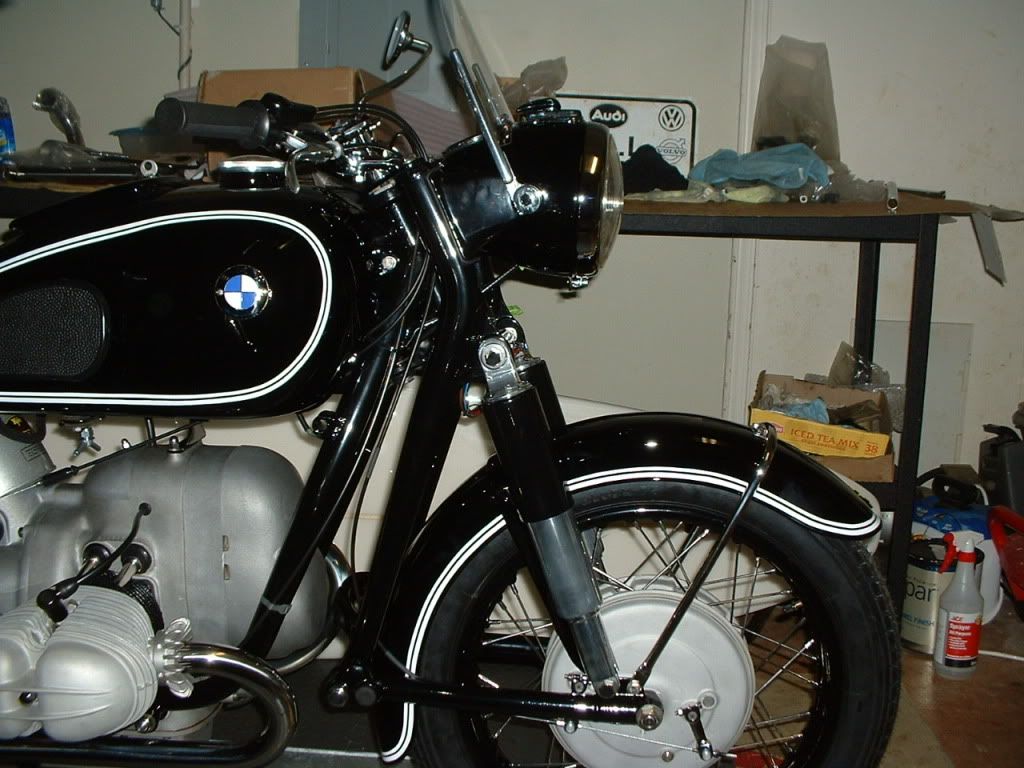
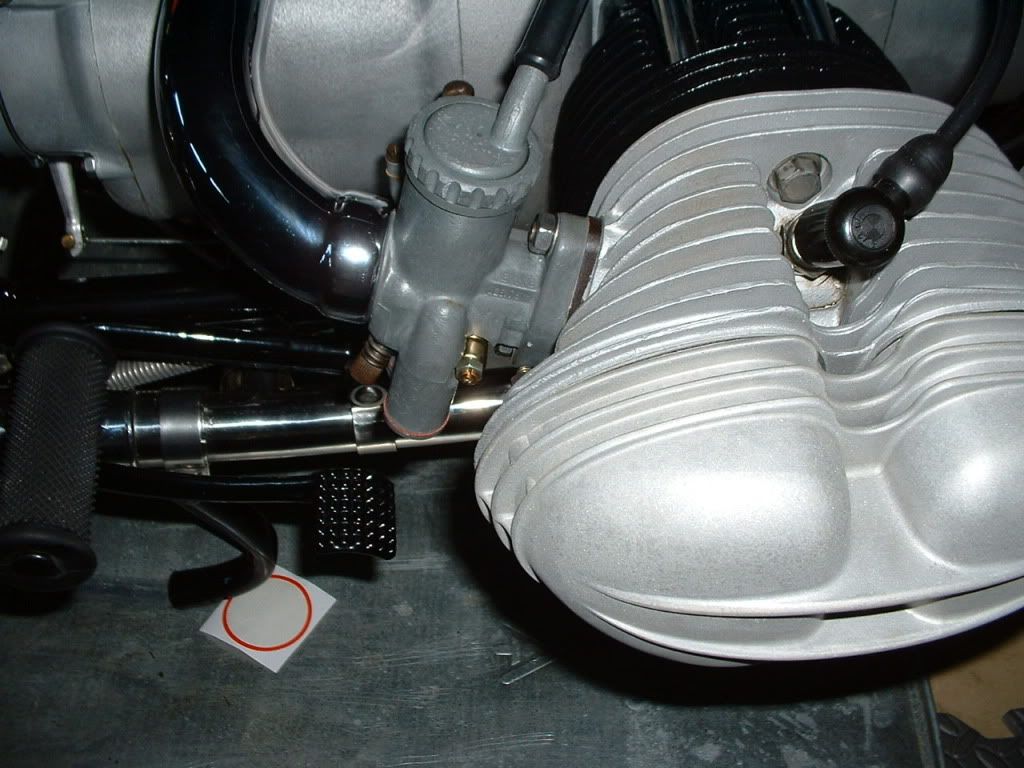
I am with you when you say it makes your life a little easier and sometimes modifications are born out of necessity. For instance my re-chromed rims came out spotty from the chromers so I put those on my R60/2 rider and decided to black powder coat another set of streel rims instead of paying again for crappy chrome,and I am stoked I did it I think it looks very cool.......not to mention I took some liberties with chroming of the brake rod,and front brake arms,etc. check out the pictures
Sonofrust,again your words are much appreciated.Mahalo
In my case,once I bought that stainless steel bolt kit,that was already a deviation from stock,not to mention SS mufflers,SS spokes,SS fender bow,SS axles,SS damper knob,SS swingarm caps,SS front swingarm axle ($180.00!!),etc,etc..it already ceased being a perfect factory resto.
Since I intended to use it near the coast/beach ;) the SS stuff was the way to go and am pleased I went this route,as well as the rims,etc.
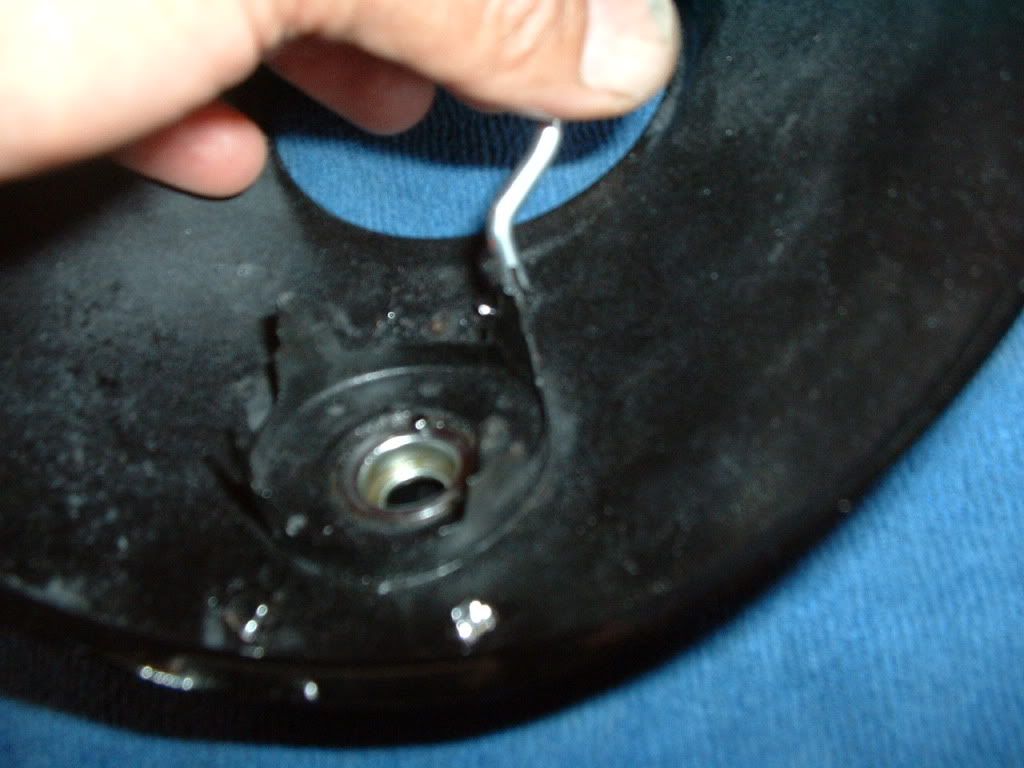
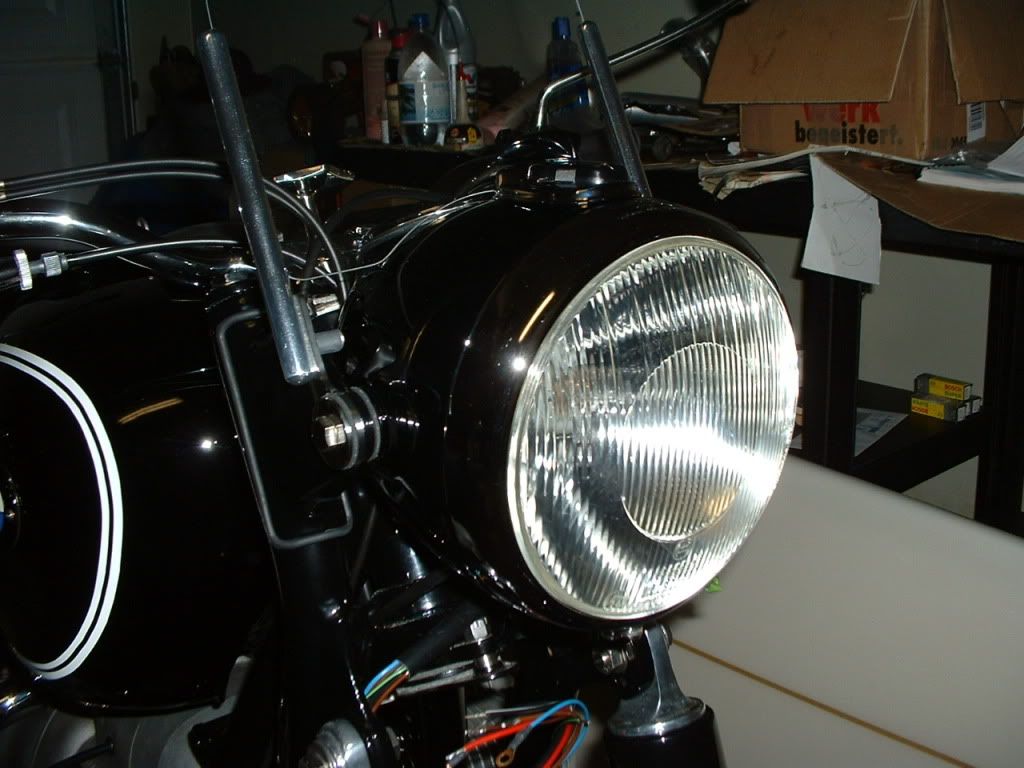
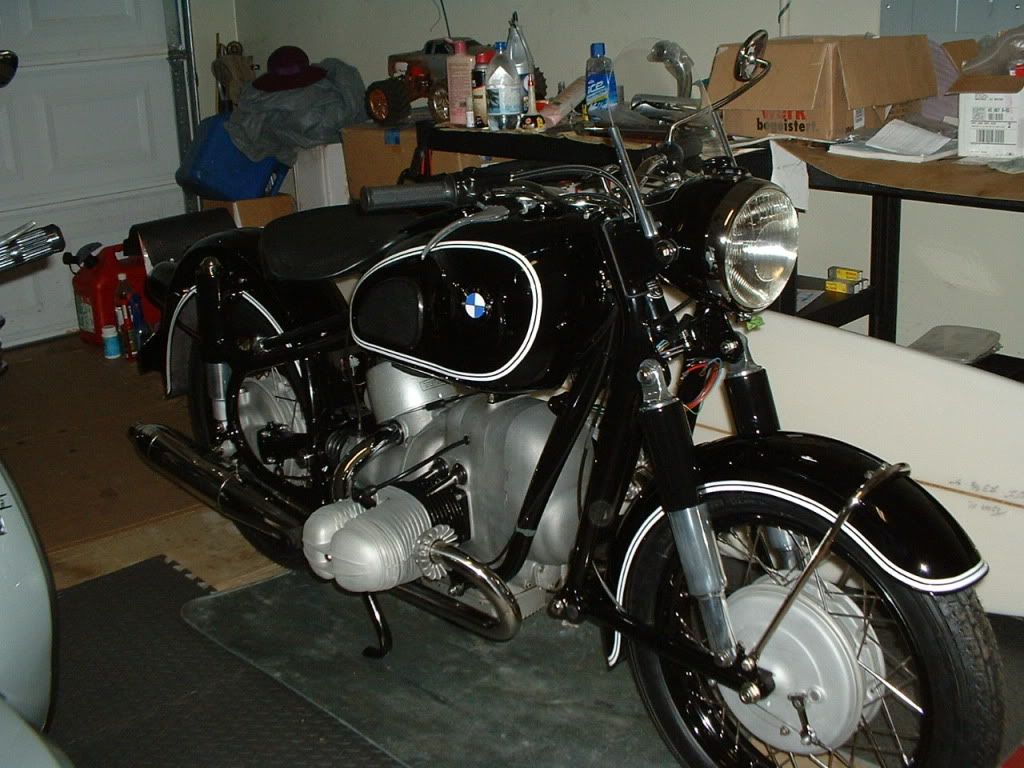
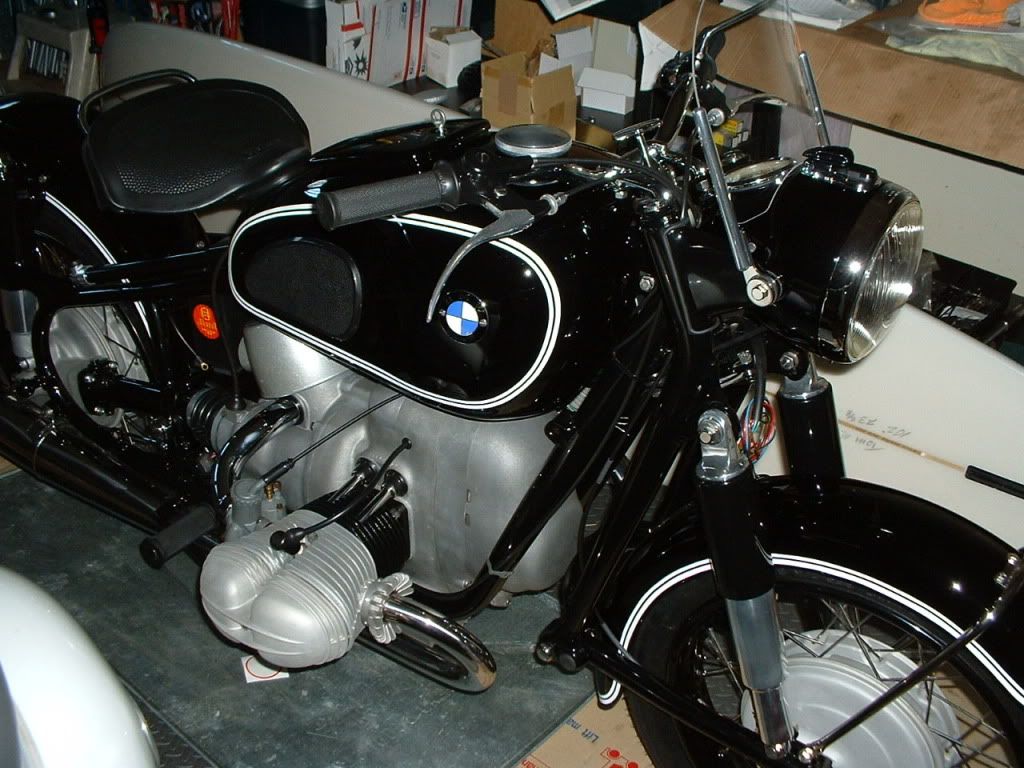
Here are some pictures of one of the last operations of the build,which is the restoration and installation of the headlight bucket.

The first operation was installing the re-chromed key switch slider housing. Since it was rechromed the tangs were a little more tricky to bend down and I did not want to hit it with a punch & miss denting the bucket,etc.
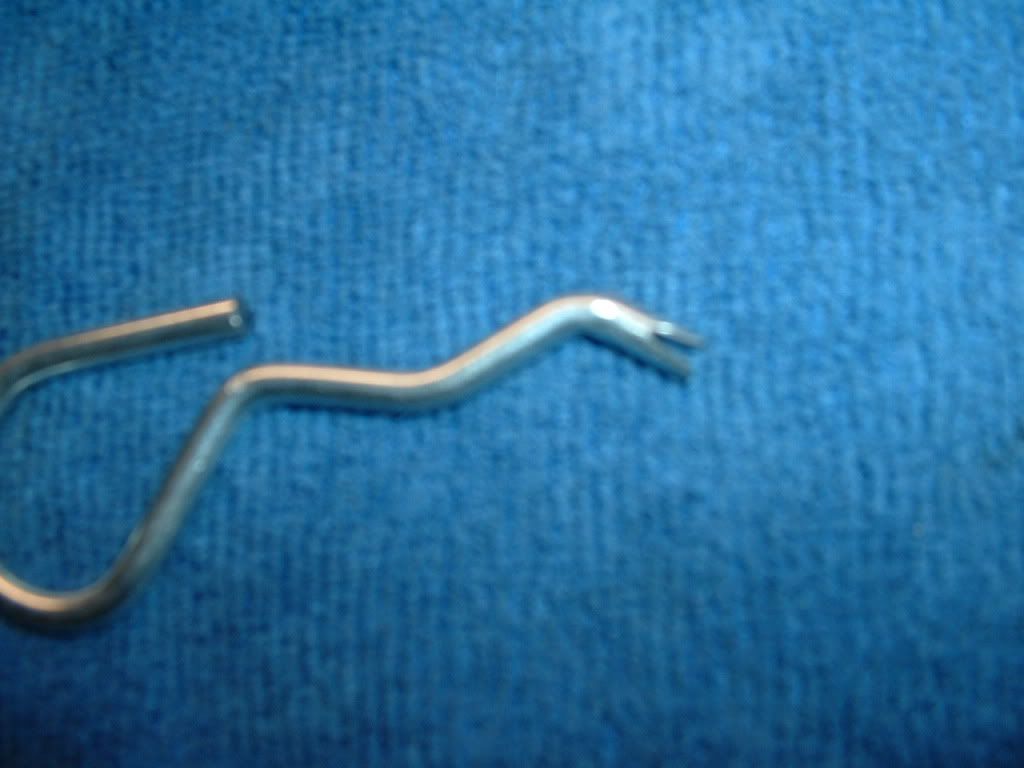
I tool a approx1/8"diam. steel cotter pin,(which I had previously cut the straight piece off of to make a hing pin for the tool box lid on the Scorsch-Meier sport tank),and using a very fine dremel cutting wheel,made a slightly angled cut into the end and used this tool to bend the tangs and it worked great. For the switchboard it served a function of baeding the tangs down enough then with long screwdriver through the speedo cable hole, (unless you have a skinny 10-12 inch punch,I am a professional mechanic and don't have one!)tap down with a small hammer the rest of the way. The switchboard has to be held down tight,and this tool cannot get the bend down enough,however it really works well if you have to bend them up or move the tangs around to line them up.
Here is the tool I made
Image
Thomas M.
R69S - R60/2 - R67/2 - R51/3 - R69

808Airhead
Posts: 1294
Joined: Wed Aug 05, 2009 9:06 pm
Has thanked: 20 times
Been thanked: 18 times

Here are some pictures of the

Post by 808Airhead »

Here are some pictures of the almost completed bike!
First,here is the above mentioned tool in use
Image
Bike coming together,front fender installed
Image
Image
Front wheel detail,I chromed the brake arms
Image
Image
I purchased a reproduction BMW speedo,however it was in kilometers,and just for fun bought a headlight restoration kit from S.Meyer,and I went ahead and installed the new (now glass instead of original plastic)lense,the only drawback was the tripmeter is now not able to reset since there is no hole for the tripmeter. This however does have the benefit of not having a way for water to leak into the speedo,like the original lense. I was so pleased how it came out that I used the original 33k speedo instead of the repro.
Image
Here are pics of the restored headlight bucket,I used a screwdriver heated up with a electric heatgun to melt the tabs for the neutral & batt. light lense,it was tricky and I think the repro material was not as strong as the original and some "chunks" of plastic would break off if the heat was a little too high. It eventually worked out and the bucket is now together and on the bike,all that is left is to connect the wiring.
Image
Original lense,repro ringf and reflector
Image
Headlight installed with my "awesome" black rims ;)\
Image
Here she is,basically a carb rebuild/cleaning,and wiring hookup needing to be done!
Image
Pretty stoked,almost done only 1 year and a month to the day I drug her home!
Thomas M.
R69S - R60/2 - R67/2 - R51/3 - R69

User avatar
Darryl.Richman
Posts: 2138
Joined: Fri Oct 27, 2006 3:00 am
Has thanked: 1 time
Been thanked: 9 times

Excellent work, it looks

Post by Darryl.Richman »

Excellent work, it looks really great! Just wait until you fire her up the first time, you will be really thrilled!
--Darryl Richman

808Airhead
Posts: 1294
Joined: Wed Aug 05, 2009 9:06 pm
Has thanked: 20 times
Been thanked: 18 times

Thanks Darryl! I am really

Post by 808Airhead »

Thanks Darryl! I am really looking forward to riding it for the first time,my greatest fear is "unusual" engine noises!!
Thomas M.
R69S - R60/2 - R67/2 - R51/3 - R69

User avatar
jamesmoc
Posts: 42
Joined: Sat Sep 18, 2010 6:54 pm

That looks superb! i was also

Post by jamesmoc »

That looks superb! i was also apprehensive at first starting my rebuilt R27 but it runs so much better/smoother than before I was amazed and hopefully yours will too. I'm sure you will have that unmovable smile on your face when you ride her down the road for the first time.

808Airhead
Posts: 1294
Joined: Wed Aug 05, 2009 9:06 pm
Has thanked: 20 times
Been thanked: 18 times

Hello everyone..........Here

Post by 808Airhead »

Hello everyone..........Here are a couple of pics of one of the last operations before she is fully functional. I took a couple hours at my shop and with my home made rig,I baking soda blasted the carb bodies and using a new gasket set,proceeded to rebuild the carbs.
I was quite pleased that the baking soda blasting left a nice finish and was gentle enough for carb bodies and would not clog up any internal passages.
Jamesmoc.......thank you for the kind words,it is so true however,the last 5% of the rebuild is taking the longest!
Here are some pictures of carbs!
Image

New idle screws from S.Meyer
Image
The NOS slotted screws I found on ebay,and I blasted the 2 jet cover bolts as well
Image
Image

Here are the carbs in their "home" which they have missed for over a year now
Image
Image
How she stands,ALMOST ready to ride.
Image
Aloha!
Thomas M.
R69S - R60/2 - R67/2 - R51/3 - R69

808Airhead
Posts: 1294
Joined: Wed Aug 05, 2009 9:06 pm
Has thanked: 20 times
Been thanked: 18 times

I updated this post with some

Post by 808Airhead »

I updated this post with some carburetor restoration pictures,unfortunately they were "spam filtered". Hang in there and they should be up soon.
Thomas M.
R69S - R60/2 - R67/2 - R51/3 - R69

mcdonnell7511
Posts: 52
Joined: Thu Feb 19, 2009 4:25 pm

OEM

Post by mcdonnell7511 »

Thomas,
Nice decals!
Jack

808Airhead
Posts: 1294
Joined: Wed Aug 05, 2009 9:06 pm
Has thanked: 20 times
Been thanked: 18 times

............you did a great

Post by 808Airhead »

;) ............you did a great job on those decals!
Thomas M.
R69S - R60/2 - R67/2 - R51/3 - R69

mcdonnell7511
Posts: 52
Joined: Thu Feb 19, 2009 4:25 pm

R69S

Post by mcdonnell7511 »

Ditto regarding your bike!

Post Reply